溯源:Servlet 到底是什么
在 Java Web 的世界里,Servlet(Server Applet)是一切的基础。它不是一个产品,也不是一个框架,而是一套 标准规范接口(由 jakarta.servlet 包定义)。
- 它的核心定义:Servlet 是运行在 Web 服务器(如 Tomcat)中的一段 Java 程序,其核心职责非常单纯,即接收 HTTP 请求并产生 HTTP 响应。
- 它的工作模式:如果没有 Servlet,Java 程序员需要直接操作 TCP/IP 套接字(Socket)去解析复杂的 HTTP 协议头。Servlet 规范通过 HttpServletRequest 和 HttpServletResponse 这两个对象,将枯燥的字节流封装成了易用的 Java 对象。
如果把 Web 开发比作开餐厅,Tomcat 就是厨房场地,而 Servlet 就是厨师。不管厨师炒什么菜,都必须遵循一套 “接单、做菜、上菜” 的标准流程,这套流程就是 Servlet 规范。
进化:它与 Spring MVC 的关系
许多读者可能容易产生误解,认为 Spring MVC 是 Servlet 的替代品。事实并非如此,它们之间是 “基石” 与 “上层建筑” 的关系。
- 继承与依赖关系:Spring MVC 并不是脱离 Servlet 运行的。Spring MVC 的核心组件
DispatcherServlet 本质上就是一个标准的 HttpServlet。
- 从分散到集中:原生 Servlet 时代采用的是 “每个功能一个 Servlet” 的模式(如 LoginServlet, RegisterServlet)。这导致 web.xml 配置文件臃肿不堪,且逻辑极其分散。而 Spring MVC 时代采用的是 “前端控制器(Front Controller)” 模式,整个应用只有一个 Servlet 入口(即 DispatcherServlet),它像一个调度员,将请求分发给各个普通的 Java 类(Controller)。
Servlet 和 Spring MVC 关系的本质可以概括为:从 “命令式编程” 向 “声明式编程” 的跨越。原生 Servlet 强迫你的代码必须依赖 Servlet API(即你的方法里必须有 req 和 resp)。 Spring MVC 的本质是利用反射 (Reflection) 和 策略模式,把你从这些 API 中解救出来,帮你自动完成解析 URL(HandlerMapping)、转换参数(Data Binding)、渲染结果(ViewResolver)等繁琐的工作。在springmvc 中你只需要在方法上加个 @RequestMapping 或 @ResponseBody 注解,剩下的脏活累活全由框架通过底层的 Servlet API 替你完成。
这种演变的动力源自生产力。Servlet 解决了 “如何与 Web 服务器通讯” 的问题,建立了底层契约;而 Spring MVC 则解决了 “如何更高效、更优雅地编写业务逻辑” 的问题,让你把更多主要的精力集中在实际的业务开发上,而不用再配置繁琐的 servlet。
示例:写一个 Servlet 感受一下
从最简单的示例开始
引入依赖:
1
2
3
4
5
6
7
8
9
10
11
12
13
14
15
16
17
18
19
20
| <packaging>war</packaging>
<dependencies>
<dependency>
<groupId>jakarta.servlet</groupId>
<artifactId>jakarta.servlet-api</artifactId>
<version>6.0.0</version>
<scope>provided</scope>
</dependency>
<dependency>
<groupId>jakarta.servlet.jsp.jstl</groupId>
<artifactId>jakarta.servlet.jsp.jstl-api</artifactId>
<version>3.0.0</version>
</dependency>
<dependency>
<groupId>org.glassfish.web</groupId>
<artifactId>jakarta.servlet.jsp.jstl</artifactId>
<version>3.0.1</version>
</dependency>
</dependencies>
|
编写 Servlet 类:
1
2
3
4
5
6
7
8
9
10
11
12
13
14
15
16
17
18
| @WebServlet("/hello")
public class HelloServlet extends HttpServlet {
@Override
protected void doGet(HttpServletRequest req, HttpServletResponse resp) throws ServletException, IOException {
resp.setContentType("text/html;charset=UTF-8");
PrintWriter out = resp.getWriter();
out.println("<html><body>");
out.println("<h1>你好,这是原生 Servlet!</h1>");
out.println("<p>请求参数 name 是: " + req.getParameter("name") + "</p>");
out.println("</body></html>");
}
}
|
配置 web.xml:
1
2
3
4
5
6
7
8
9
10
11
12
13
14
15
16
17
| <?xml version="1.0" encoding="UTF-8"?>
<web-app xmlns="https://jakarta.ee/xml/ns/jakartaee"
xmlns:xsi="http://www.w3.org/2001/XMLSchema-instance"
xsi:schemaLocation="https://jakarta.ee/xml/ns/jakartaee
https://jakarta.ee/xml/ns/jakartaee/web-app_6_0.xsd"
version="6.0">
<servlet>
<servlet-name>myHelloServlet</servlet-name>
<servlet-class>com.demo.servlet.HelloServlet</servlet-class>
</servlet>
<servlet-mapping>
<servlet-name>myHelloServlet</servlet-name>
<url-pattern>/hello</url-pattern>
</servlet-mapping>
</web-app>
|
无需 web.xml 的现代写法:如果你觉得写 web.xml 太麻烦,从 Servlet 3.0 开始,你可以使用注解直接在类上定义路径:
1
2
3
4
| @WebServlet("/hello")
public class HelloServlet extends HttpServlet {
}
|
写一个具体的小案例
下面这个案例包含最基本的登录登出、个人中心的功能。通过这个案例 ,我们来感受一下相对繁琐的 servlet API。
1
2
3
4
5
6
7
8
9
10
11
12
13
14
15
16
| webapp(与 java 和 resource 目录同级)
│
├── WEB-INF
│ └── web.xml
│
├── static
│ ├── css
│ ├── js
│ └── images
│
├── errors
│ ├── 404.jsp
│ ├── 500.jsp
│ └── error.jsp
│
└── index.jsp
|
注:WEB-INF 是应用的安全目录,只对服务端开放,对客户端是不可见的。所以我们可以把除了首页等安全页面暴露在 WEB-INF 之外,除此之外的所有页面都放到 WEB-INF 之下,这样就无法通过 URL 直接访问页面了。
web.xml
1
2
3
4
5
6
7
8
9
10
11
12
13
14
15
16
17
18
19
20
21
22
23
24
25
26
27
28
29
30
31
32
33
34
35
36
37
38
39
40
41
42
43
44
45
46
47
48
49
50
51
52
53
54
55
56
57
58
59
60
61
62
63
64
65
66
67
68
69
70
71
72
73
74
75
76
77
78
79
80
81
82
83
84
85
86
87
88
89
90
91
92
93
94
95
96
97
98
99
100
101
102
103
104
105
106
107
108
109
110
111
112
113
114
115
116
117
118
119
120
121
122
123
124
125
126
127
128
129
130
131
132
133
| <?xml version="1.0" encoding="UTF-8"?>
<web-app xmlns="https://jakarta.ee/xml/ns/jakartaee"
xmlns:xsi="http://www.w3.org/2001/XMLSchema-instance"
xsi:schemaLocation="https://jakarta.ee/xml/ns/jakartaee https://jakarta.ee/xml/ns/jakartaee/web-app_6_0.xsd"
version="6.0">
<listener>
<listener-class>com.demo.servlet.AppInitListener</listener-class>
</listener>
<listener>
<listener-class>com.demo.servlet.OnlineCounterListener</listener-class>
</listener>
<listener>
<listener-class>com.demo.servlet.MyRequestListener</listener-class>
</listener>
<listener>
<listener-class>com.demo.servlet.ConfigUpdateListener</listener-class>
</listener>
<listener>
<listener-class>com.demo.servlet.LoginConflictListener</listener-class>
</listener>
<listener>
<listener-class>com.demo.servlet.SensitiveDataListener</listener-class>
</listener>
<filter>
<filter-name>CharacterEncodingFilter</filter-name>
<filter-class>com.demo.servlet.CharacterEncodingFilter</filter-class>
<init-param>
<param-name>encoding</param-name>
<param-value>UTF-8</param-value>
</init-param>
</filter>
<filter-mapping>
<filter-name>CharacterEncodingFilter</filter-name>
<url-pattern>/*</url-pattern>
</filter-mapping>
<filter>
<filter-name>AuthFilter</filter-name>
<filter-class>com.demo.servlet.AuthFilter</filter-class>
</filter>
<filter-mapping>
<filter-name>AuthFilter</filter-name>
<url-pattern>*.do</url-pattern>
<url-pattern>/admin/*</url-pattern>
</filter-mapping>
<servlet>
<servlet-name>MyDispatcherServlet</servlet-name>
<servlet-class>com.demo.servlet.DispatcherServlet</servlet-class>
<load-on-startup>1</load-on-startup>
<multipart-config>
<max-file-size>2097152</max-file-size>
<max-request-size>4194304</max-request-size>
<file-size-threshold>0</file-size-threshold>
</multipart-config>
</servlet>
<servlet-mapping>
<servlet-name>MyDispatcherServlet</servlet-name>
<url-pattern>*.do</url-pattern>
</servlet-mapping>
<context-param>
<param-name>configLocation</param-name>
<param-value>classpath:application-config.xml</param-value>
</context-param>
<session-config>
<session-timeout>30</session-timeout>
<cookie-config>
<http-only>true</http-only>
<secure>false</secure>
</cookie-config>
</session-config>
<welcome-file-list>
<welcome-file>login.jsp</welcome-file>
<welcome-file>index.html</welcome-file>
</welcome-file-list>
<error-page>
<error-code>404</error-code>
<location>/errors/404.jsp</location>
</error-page>
<error-page>
<error-code>500</error-code>
<location>/errors/500.jsp</location>
</error-page>
<error-page>
<exception-type>java.lang.Throwable</exception-type>
<location>/errors/error.jsp</location>
</error-page>
<mime-mapping>
<extension>json</extension>
<mime-type>application/json</mime-type>
</mime-mapping>
<mime-mapping>
<extension>svg</extension>
<mime-type>image/svg+xml</mime-type>
</mime-mapping>
<mime-mapping>
<extension>woff2</extension>
<mime-type>font/woff2</mime-type>
</mime-mapping>
</web-app>
|
AppInitListener:
1
2
3
4
5
6
7
8
9
10
11
12
13
14
15
16
17
18
19
20
21
22
23
24
25
26
27
28
29
30
31
32
33
34
35
36
37
38
39
40
41
42
43
44
45
46
47
48
49
| import jakarta.servlet.ServletContext;
import jakarta.servlet.ServletContextEvent;
import jakarta.servlet.ServletContextListener;
public class AppInitListener implements ServletContextListener {
@Override
public void contextInitialized(ServletContextEvent sce) {
ServletContext context = sce.getServletContext();
System.out.println("======= [系统启动] 正在进行初始化 =======");
String configLocation = context.getInitParameter("configLocation");
System.out.println("读取到配置文件路径: " + configLocation);
context.setAttribute("sysVersion", "v1.3-Enterprise");
System.out.println("======= [系统启动] 初始化完成 =======");
}
@Override
public void contextDestroyed(ServletContextEvent sce) {
System.out.println("======= [系统关闭] 正在释放资源 =======");
System.out.println("======= [系统关闭] 资源释放完毕 =======");
}
}
|
OnlineCounterListener:
1
2
3
4
5
6
7
8
9
10
11
12
13
14
15
16
17
18
19
20
|
public class OnlineCounterListener implements HttpSessionListener {
private static int onlineCount = 0;
@Override
public void sessionCreated(HttpSessionEvent se) {
onlineCount++;
se.getSession().getServletContext().setAttribute("onlineCount", onlineCount);
}
@Override
public void sessionDestroyed(HttpSessionEvent se) {
onlineCount--;
se.getSession().getServletContext().setAttribute("onlineCount", onlineCount);
}
}
|
MyRequestListener:
1
2
3
4
5
6
7
8
9
10
11
12
13
14
15
16
17
18
19
20
21
22
23
24
25
26
27
28
29
|
public class MyRequestListener implements ServletRequestListener {
@Override
public void requestInitialized(ServletRequestEvent sre) {
HttpServletRequest request = (HttpServletRequest) sre.getServletRequest();
String uri = request.getRequestURI();
String ip = request.getRemoteAddr();
long startTime = System.currentTimeMillis();
request.setAttribute("startTime", startTime);
System.out.println(">>> [请求开始] IP: " + ip + " 访问了: " + uri);
}
@Override
public void requestDestroyed(ServletRequestEvent sre) {
HttpServletRequest request = (HttpServletRequest) sre.getServletRequest();
Long startTime = (Long) request.getAttribute("startTime");
long endTime = System.currentTimeMillis();
System.out.println("<<< [请求结束] URL: " + request.getRequestURI() + " 总耗时: " + (endTime - startTime) + "ms");
}
}
|
ConfigUpdateListener:
1
2
3
4
5
6
7
8
9
10
11
12
13
14
15
16
17
18
19
20
21
22
23
24
|
public class ConfigUpdateListener implements ServletContextAttributeListener {
@Override
public void attributeReplaced(ServletContextAttributeEvent event) {
String name = event.getName();
if ("systemConfig".equals(name)) {
Object newValue = event.getServletContext().getAttribute(name);
Object oldValue = event.getValue();
System.out.println("📢 [系统配置变更]");
System.out.println("旧值: " + oldValue);
System.out.println("新值: " + newValue);
}
}
}
|
LoginConflictListener:
1
2
3
4
5
6
7
8
9
10
11
12
13
14
15
16
17
18
19
20
21
22
23
24
|
public class LoginConflictListener implements HttpSessionAttributeListener {
private static Map<String, HttpSession> userMap = new ConcurrentHashMap<>();
@Override
public void attributeAdded(HttpSessionBindingEvent event) {
if ("userId".equals(event.getName())) {
String userId = (String) event.getValue();
if (userMap.containsKey(userId)) {
HttpSession oldSession = userMap.get(userId);
oldSession.setAttribute("kickout", true);
System.out.println("用户 " + userId + " 在新设备登录,旧设备将被强制下线。");
}
userMap.put(userId, event.getSession());
}
}
}
|
SensitiveDataListener:
1
2
3
4
5
6
7
8
9
10
11
12
13
14
15
16
17
18
19
20
21
22
23
|
public class SensitiveDataListener implements ServletRequestAttributeListener {
@Override
public void attributeAdded(ServletRequestAttributeEvent event) {
String name = event.getName();
Object value = event.getValue();
if ("password".equalsIgnoreCase(name)) {
System.err.println("安全警告:检测到明文密码存入 Request 域!Key: " + name);
}
}
@Override
public void attributeReplaced(ServletRequestAttributeEvent event) {
}
}
|
CharacterEncodingFilter:
1
2
3
4
5
6
7
8
9
10
11
12
13
14
15
16
17
18
19
20
21
22
23
24
25
26
27
28
29
30
31
32
33
34
35
36
37
38
39
40
41
42
43
|
public class CharacterEncodingFilter implements Filter {
private String encoding;
@Override
public void init(FilterConfig filterConfig) throws ServletException {
encoding = filterConfig.getInitParameter("encoding");
if (encoding == null) {
encoding = "UTF-8";
}
}
@Override
public void doFilter(ServletRequest request, ServletResponse response, FilterChain chain) throws IOException, ServletException {
HttpServletRequest req = (HttpServletRequest) request;
String uri = req.getRequestURI();
if (uri.contains("/static/")) {
chain.doFilter(request, response);
return;
}
request.setCharacterEncoding(encoding);
response.setCharacterEncoding(encoding);
response.setContentType("text/html;charset=" + encoding);
chain.doFilter(request, response);
}
@Override
public void destroy() {
}
}
|
AuthFilter:
1
2
3
4
5
6
7
8
9
10
11
12
13
14
15
16
17
18
19
20
21
22
23
24
25
26
27
28
29
30
31
32
33
34
35
|
public class AuthFilter implements Filter {
@Override
public void doFilter(ServletRequest request, ServletResponse response, FilterChain chain) throws IOException, ServletException {
HttpServletRequest req = (HttpServletRequest) request;
HttpServletResponse res = (HttpServletResponse) response;
String uri = req.getRequestURI();
if (uri.endsWith(".css") || uri.endsWith(".js") || uri.contains("/static/")) {
chain.doFilter(request, response);
return;
}
if (uri.contains("login")) {
chain.doFilter(request, response);
return;
}
Object user = req.getSession().getAttribute("user");
if (user != null) {
chain.doFilter(request, response);
} else {
res.sendRedirect("login.jsp?msg=Please LoginFirst");
}
}
}
|
DispatcherServlet:
1
2
3
4
5
6
7
8
9
10
11
12
13
14
15
16
17
18
19
20
21
22
23
24
25
26
27
28
29
30
31
32
33
34
35
36
37
38
39
40
41
42
43
44
45
46
47
48
49
50
51
52
53
54
55
56
57
58
59
60
61
62
63
64
65
66
67
68
69
70
71
72
73
74
75
76
77
78
79
80
81
82
83
84
85
86
87
88
89
90
91
92
93
94
95
96
97
98
99
100
101
102
103
104
105
106
107
108
109
110
111
112
113
114
115
116
117
118
119
120
121
122
123
124
125
126
127
128
129
130
131
132
133
134
135
136
137
138
139
140
141
142
143
144
145
146
147
148
149
150
| import jakarta.servlet.ServletException;
import jakarta.servlet.http.*;
import java.io.File;
import java.io.IOException;
import java.io.PrintWriter;
import java.lang.reflect.Method;
import java.util.UUID;
public class DispatcherServlet extends HttpServlet {
@Override
protected void service(HttpServletRequest req, HttpServletResponse resp) throws ServletException, IOException {
String uri = req.getRequestURI();
String methodName = uri.substring(uri.lastIndexOf("/") + 1, uri.lastIndexOf("."));
try {
Method method = this.getClass().getDeclaredMethod(methodName, HttpServletRequest.class, HttpServletResponse.class);
method.setAccessible(true);
method.invoke(this, req, resp);
} catch (NoSuchMethodException e) {
resp.sendError(404, "未找到该业务方法: " + methodName);
} catch (Exception e) {
e.printStackTrace();
resp.sendError(500, "服务器内部错误: " + e.getMessage());
}
}
private void login(HttpServletRequest req, HttpServletResponse resp) throws ServletException, IOException {
String username = req.getParameter("username");
String password = req.getParameter("password");
String rememberMe = req.getParameter("rememberMe");
if (username == null || username.trim().isEmpty() || password == null || password.trim().isEmpty()) {
req.setAttribute("msg", "账号或密码不能为空");
req.getRequestDispatcher("login.jsp").forward(req, resp);
return;
}
if ("admin".equals(username) && "123".equals(password)) {
HttpSession session = req.getSession();
session.setAttribute("user", username);
session.setAttribute("avatar", "static/images/default-avatar.png");
if ("on".equals(rememberMe)) {
Cookie userCookie = new Cookie("savedUsername", username);
userCookie.setMaxAge(60 * 60 * 24 * 7);
userCookie.setPath(req.getContextPath());
resp.addCookie(userCookie);
} else {
Cookie killCookie = new Cookie("savedUsername", "");
killCookie.setMaxAge(0);
killCookie.setPath(req.getContextPath());
resp.addCookie(killCookie);
}
resp.sendRedirect(req.getContextPath() + "/index.jsp");
} else {
req.setAttribute("msg", "用户名或密码错误");
req.getRequestDispatcher("login.jsp").forward(req, resp);
}
}
private void logout(HttpServletRequest req, HttpServletResponse resp) throws IOException {
HttpSession session = req.getSession(false);
if (session != null) {
session.invalidate();
}
Cookie killCookie = new Cookie("savedUsername", "");
killCookie.setMaxAge(0);
killCookie.setPath(req.getContextPath());
resp.addCookie(killCookie);
System.out.println(">>> [用户退出] 已清理 Session 与 Cookie");
resp.sendRedirect(req.getContextPath() + "/login.jsp?msg=" + java.net.URLEncoder.encode("您已安全退出系统", "UTF-8"));
}
private void profile(HttpServletRequest req, HttpServletResponse resp) throws ServletException, IOException {
req.getRequestDispatcher("profile.jsp").forward(req, resp);
}
private void uploadAvatar(HttpServletRequest req, HttpServletResponse resp) throws ServletException, IOException {
resp.setContentType("application/json;charset=UTF-8");
PrintWriter out = resp.getWriter();
try {
Part filePart = req.getPart("avatar");
if (filePart == null || filePart.getSize() == 0) {
out.print("{\"success\": false, \"message\": \"未检测到文件\"}");
return;
}
String fileName = UUID.randomUUID().toString() + ".jpg";
String uploadPath = getServletContext().getRealPath("/static/uploads");
System.out.println("文件实际保存位置: " + uploadPath);
File uploadDir = new File(uploadPath);
if (!uploadDir.exists()) uploadDir.mkdirs();
filePart.write(uploadPath + File.separator + fileName);
String avatarUrl = "static/uploads/" + fileName;
req.getSession().setAttribute("avatar", avatarUrl);
out.print("{\"success\": true, \"newAvatarUrl\": \"" + avatarUrl + "\"}");
} catch (Exception e) {
out.print("{\"success\": false, \"message\": \"服务器处理失败: " + e.getMessage() + "\"}");
}
}
}
|
login.jsp
1
2
3
4
5
6
7
8
9
10
11
12
13
14
15
16
17
18
19
20
21
22
23
24
25
26
27
28
29
30
31
32
33
34
35
36
37
38
39
40
41
42
43
44
45
46
47
48
49
50
51
52
53
54
55
56
57
58
59
60
61
62
63
| <%@ page contentType="text/html;charset=UTF-8" language="java" %>
<%
String savedUser = "";
boolean isRemembered = false;
Cookie[] cookies = request.getCookies();
if (cookies != null) {
for (Cookie c : cookies) {
if ("savedUsername".equals(c.getName())) {
savedUser = c.getValue();
isRemembered = true;
}
}
}
String errorMsg = (String) request.getAttribute("msg");
%>
<!DOCTYPE html>
<html lang="zh-CN">
<head>
<meta charset="UTF-8">
<meta name="viewport" content="width=device-width, initial-scale=1.0">
<title>${applicationScope.sysVersion != null ? applicationScope.sysVersion : "System"} - 登录</title>
<style>...</style>
</head>
<body>
<div class="login-card">
<h2>系统登录</h2>
<%-- 错误消息回显 --%>
<% if (errorMsg != null) { %>
<div class="error-msg">
<%= errorMsg %>
</div>
<% } %>
<form action="${pageContext.request.contextPath}/login.do" method="post">
<div class="form-group">
<label for="username">用户名</label>
<input type="text" id="username" name="username" value="<%= savedUser %>" placeholder="请输入账号" required autocomplete="off">
</div>
<div class="form-group">
<label for="password">密码</label>
<input type="password" id="password" name="password" placeholder="请输入密码" required>
</div>
<div class="checkbox-group">
<input type="checkbox" name="rememberMe" id="rememberMe" <%= isRemembered ? "checked" : "" %>>
<label for="rememberMe">记住我 (7天)</label>
</div>
<button type="submit" class="btn-submit">立即登录</button>
</form>
<div class="footer">
© 2021 Powered by Owlias v1.3 Design
</div>
</div>
</body>
</html>
|
index.jsp
1
2
3
4
5
6
7
8
9
10
11
12
13
14
15
16
17
18
19
20
21
22
23
24
25
26
27
28
29
30
31
32
33
34
35
36
37
38
39
40
41
42
43
44
45
46
47
48
49
50
51
52
53
54
55
56
57
58
59
60
61
62
63
64
65
66
67
68
69
70
71
72
73
74
75
76
77
78
79
80
81
82
83
84
85
86
87
88
89
90
91
92
93
94
95
96
97
98
99
100
101
102
103
104
105
106
107
108
109
110
111
112
113
114
115
116
117
118
119
120
121
122
123
124
125
126
127
128
129
130
131
132
133
| <%-- 1. 指令 (Directives): 定义页面属性、导入包或包含其他文件 --%>
<%@ page contentType="text/html;charset=UTF-8" language="java" import="java.util.*, java.text.*" %>
<%@ taglib prefix="c" uri="http://java.sun.com/jsp/jstl/core" %>
<!DOCTYPE html>
<html lang="zh-CN">
<head>
<meta charset="UTF-8">
<meta name="viewport" content="width=device-width, initial-scale=1.0">
<title>控制台 - Owlias v1.3</title>
</head>
<body>
<%-- 2. 脚本片段 (Scriptlets): 编写 Java 逻辑 --%>
<%
SimpleDateFormat sdf = new SimpleDateFormat("yyyy-MM-dd HH:mm:ss");
String now = sdf.format(new Date());
String user = (String) session.getAttribute("user");
if (user == null) {
user = "访客";
}
%>
<div class="header">
<c:choose>
<c:when test="${not empty sessionScope.user}">
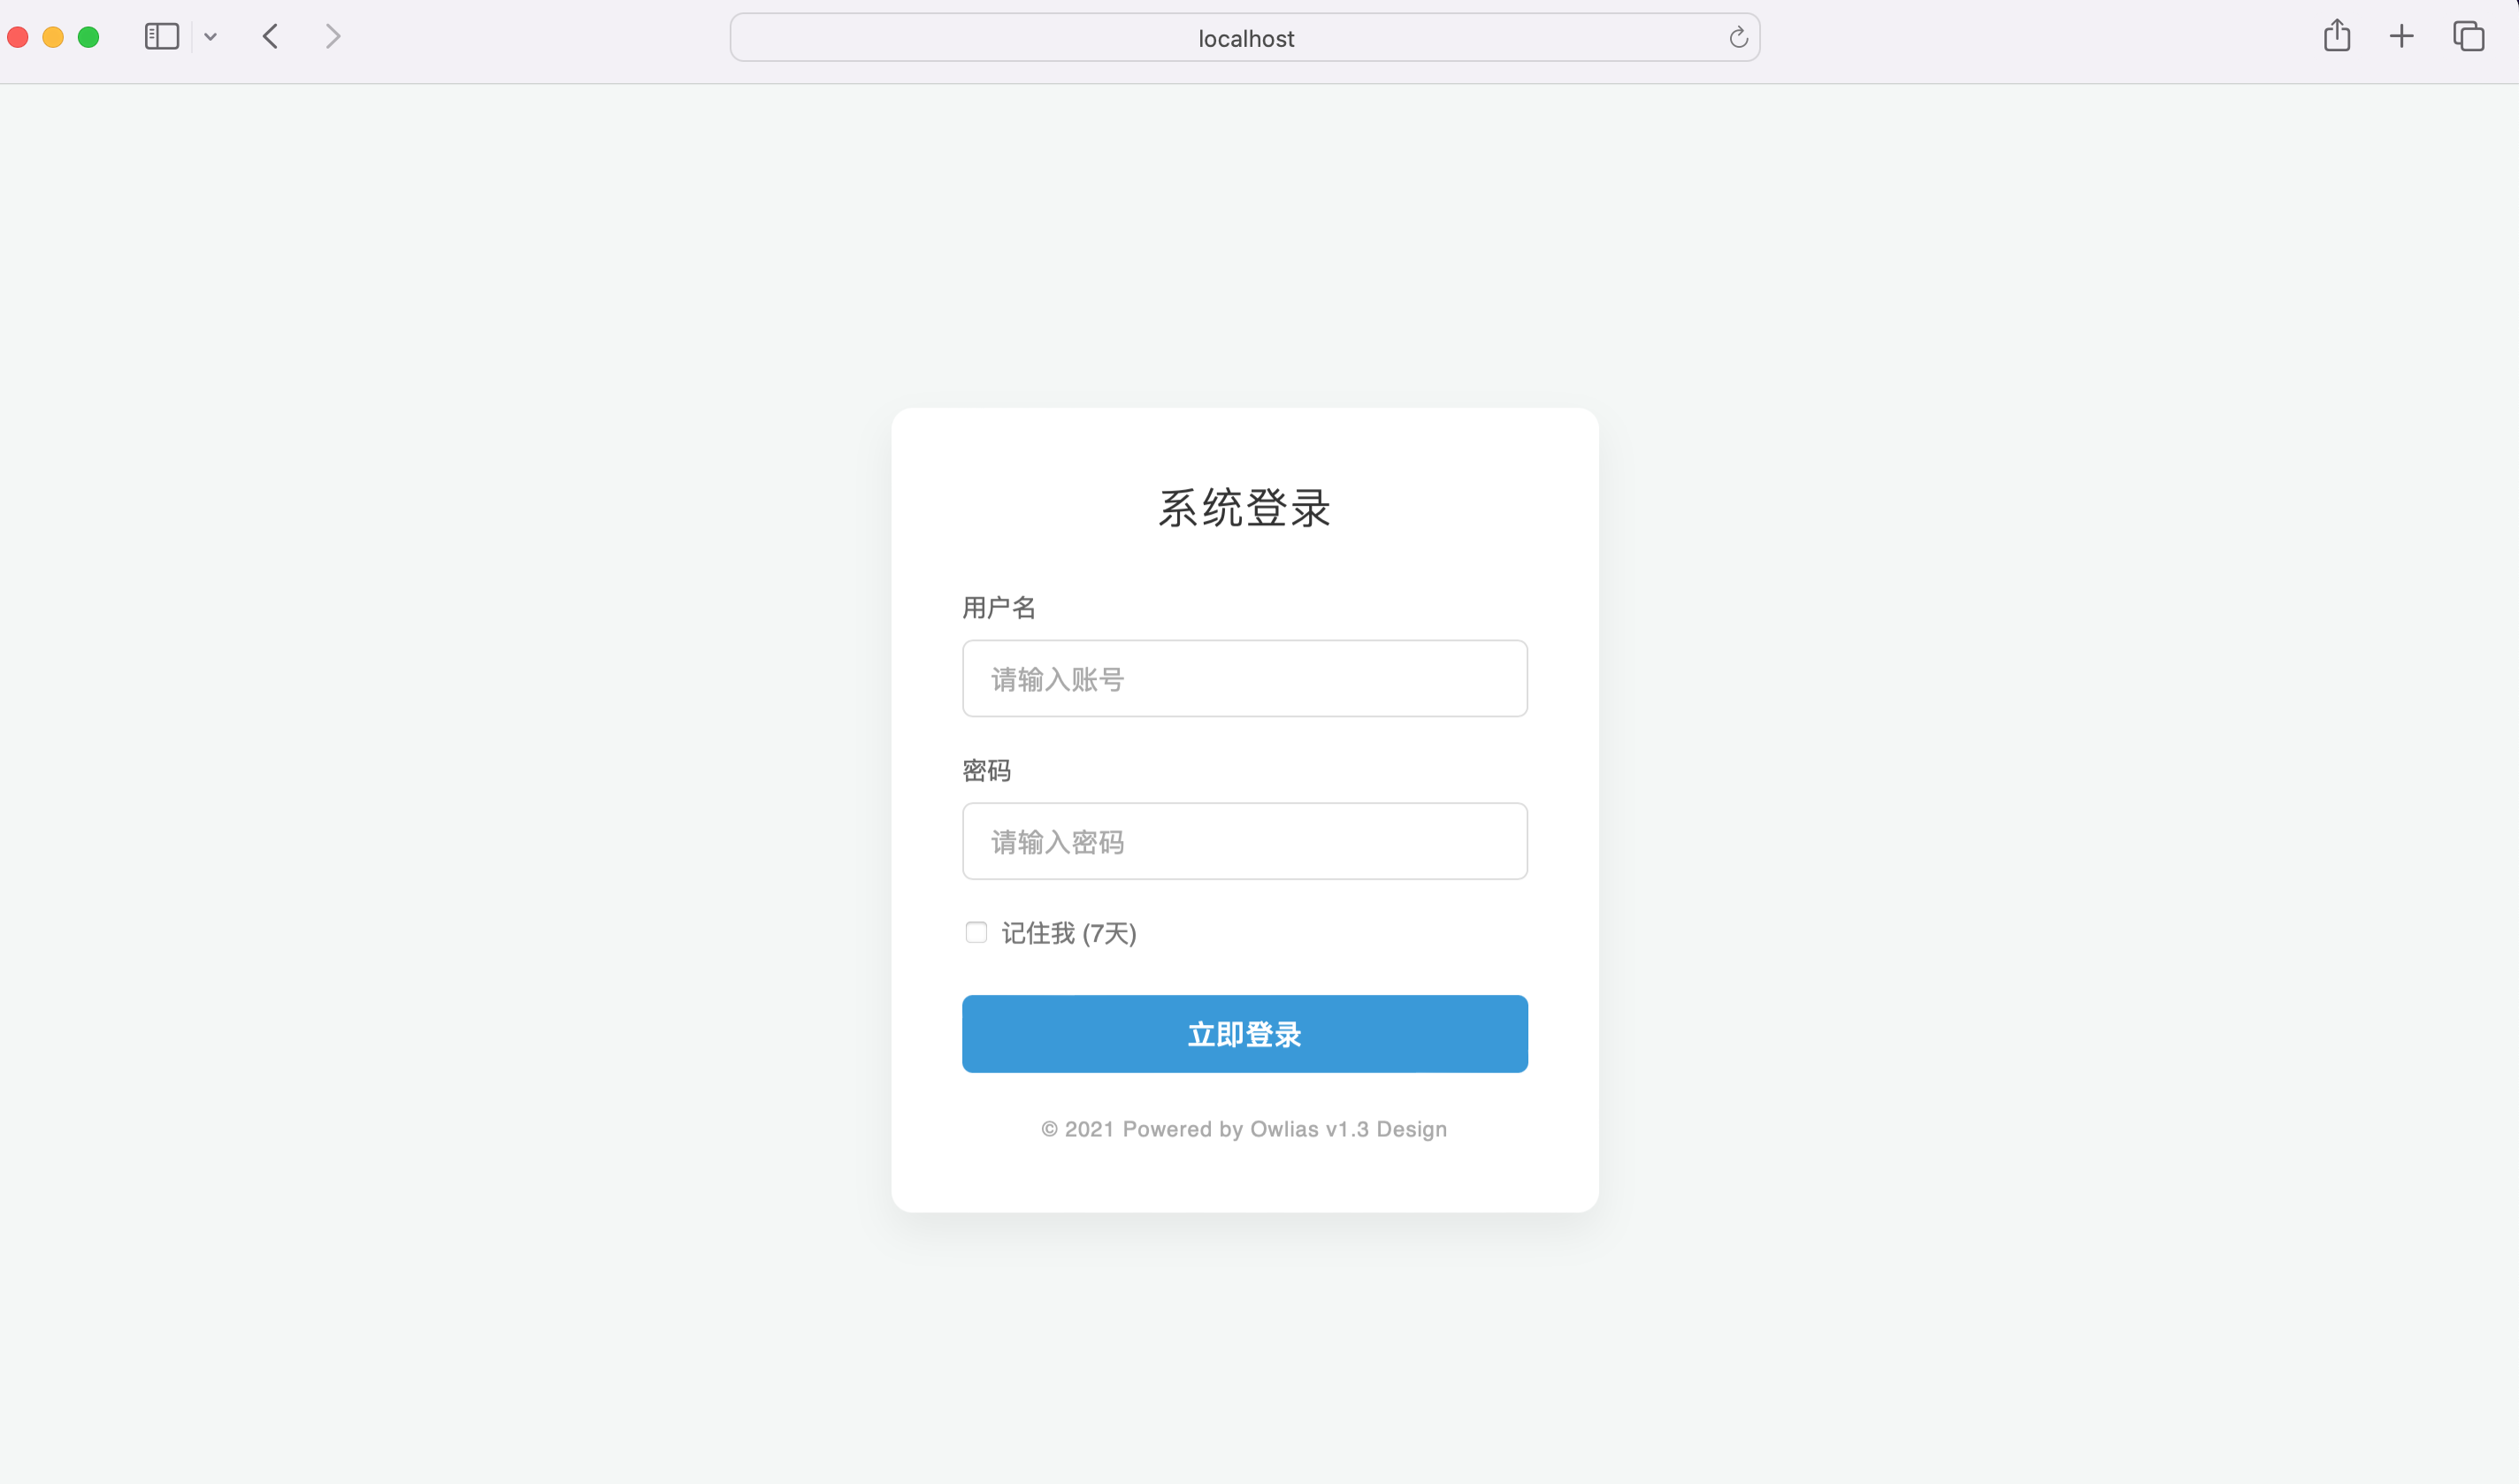
<span>欢迎,<c:out value="${sessionScope.user}" /></span>
<span class="tag">最后刷新: <%= now %></span>
</c:when>
<c:otherwise>
<a href="login.jsp" class="btn">请登录</a>
</c:otherwise>
</c:choose>
</div>
<div class="grid">
<div class="card">
<h3>1. 表达式 <%= "... %>" %></h3>
<p>用于直接向页面输出数据,末尾<strong>不加分号</strong>。</p>
<div class="code-block">
当前用户: <%= user %><br>
1+1 计算结果: <%= 1 + 1 %>
</div>
</div>
<div class="card">
<h3>2. 声明 <%! "..." %></h3>
<p>用于定义成员变量或方法(属于 Servlet 类,非 service 方法内)。</p>
<%!
private int visitCount = 0;
public String getStatus(int count) {
return count > 10 ? "活跃" : "普通";
}
%>
<div class="code-block">
系统累计访问: <% visitCount++; %><%= visitCount %> 次<br>
当前状态: <%= getStatus(visitCount) %>
</div>
</div>
<div class="card">
<h3>3. EL 表达式 ${"... "}</h3>
<p>企业级首选,写法简洁,自动从各作用域查找对象。</p>
<div class="code-block">
项目路径: ${pageContext.request.contextPath}<br>
Session 用户: ${sessionScope.user}<br>
系统版本: ${applicationScope.sysVersion}
request 作用域参数:${requestScope}
</div>
</div>
<div class="card">
<h3>4. JSTL 标签 <c:out></h3>
<p>逻辑控制(循环、判断)的最佳实践。需导入 taglib。</p>
<div class="code-block">
<c:if test="${not empty sessionScope.user}">
状态:已登录
</c:if>
<c:choose>
<c:when test="${user == 'admin'}">
权限:超级管理员
</c:when>
<c:otherwise>
权限:普通用户
</c:otherwise>
</c:choose>
</div>
</div>
<div class="card">
<h3>5. 注释</h3>
<p>JSP 注释在客户端不可见,HTML 注释在源码可见。</p>
<div class="code-block">
<%-- 这是 JSP 注释,不会发给浏览器 --%>
</div>
</div>
<div class="card">
<h3>6. 动作标签 <jsp:...></h3>
<p>用于包含页面、转发或操作 Java Bean。</p>
<div class="code-block">
<%-- 动态包含页脚 --%>
<%-- <jsp:include page="footer.jsp" /> --%>
转发语法: <jsp:forward page="url" />
</div>
</div>
<div class="card" onclick="location.href='${pageContext.request.contextPath}/profile.do'" style="cursor: pointer; border: 1px solid transparent; transition: all 0.3s ease;">
<div style="display: flex; align-items: center; gap: 15px;">
<img src="${not empty sessionScope.avatar ? sessionScope.avatar : 'static/images/default-avatar.png'}"
style="width: 50px; height: 50px; border-radius: 50%; object-fit: cover; border: 2px solid var(--primary);">
<div>
<h3 style="margin: 0; font-size: 18px;">个人中心</h3>
<p style="margin: 5px 0 0; font-size: 12px; color: #64748b;">查看资料、修改头像及账号设置</p>
</div>
</div>
<div style="margin-top: 15px; padding-top: 15px; border-top: 1px solid #f1f5f9; display: flex; justify-content: space-between; align-items: center;">
<span style="font-size: 12px; color: var(--primary);">立即进入 →</span>
<span class="tag">账号: ${sessionScope.user}</span>
</div>
</div>
</div>
<div style="margin-top: 30px; text-align: center;">
<a href="${pageContext.request.contextPath}/logout.do" style="color: #e74c3c; text-decoration: none;">安全退出系统</a>
</div>
</body>
</html>
|
profile.jsp
1
2
3
4
5
6
7
8
9
10
11
12
13
14
15
16
17
18
19
20
21
22
23
24
25
26
27
28
29
30
31
32
33
34
35
36
37
38
39
40
41
42
43
44
45
46
47
48
49
50
51
52
53
54
55
56
57
58
59
60
61
62
63
64
65
66
67
68
69
70
71
72
73
74
75
76
77
78
79
80
81
82
83
84
85
86
87
88
89
90
91
92
93
94
95
96
97
98
99
100
101
| <%@ page contentType="text/html;charset=UTF-8" language="java" %>
<%@ taglib prefix="c" uri="http://java.sun.com/jsp/jstl/core" %>
<!DOCTYPE html>
<html lang="zh-CN">
<head>
<meta charset="UTF-8">
<meta name="viewport" content="width=device-width, initial-scale=1.0">
<title>个人中心 - Owlias v1.3</title>
<style>
:root {
--primary: #3498db;
--success: #2ecc71;
--bg: #f4f7f6;
--card-bg: #ffffff;
} ...
</style>
</head>
<body>
<div class="profile-card">
<div class="avatar-section">
<%-- 使用 EL 表达式读取 Session 中的头像,若为空则显示默认图 --%>
<img id="displayAvatar" class="avatar-img"
src="${not empty sessionScope.avatar ? sessionScope.avatar : 'static/images/default-avatar.png'}"
alt="User Avatar">
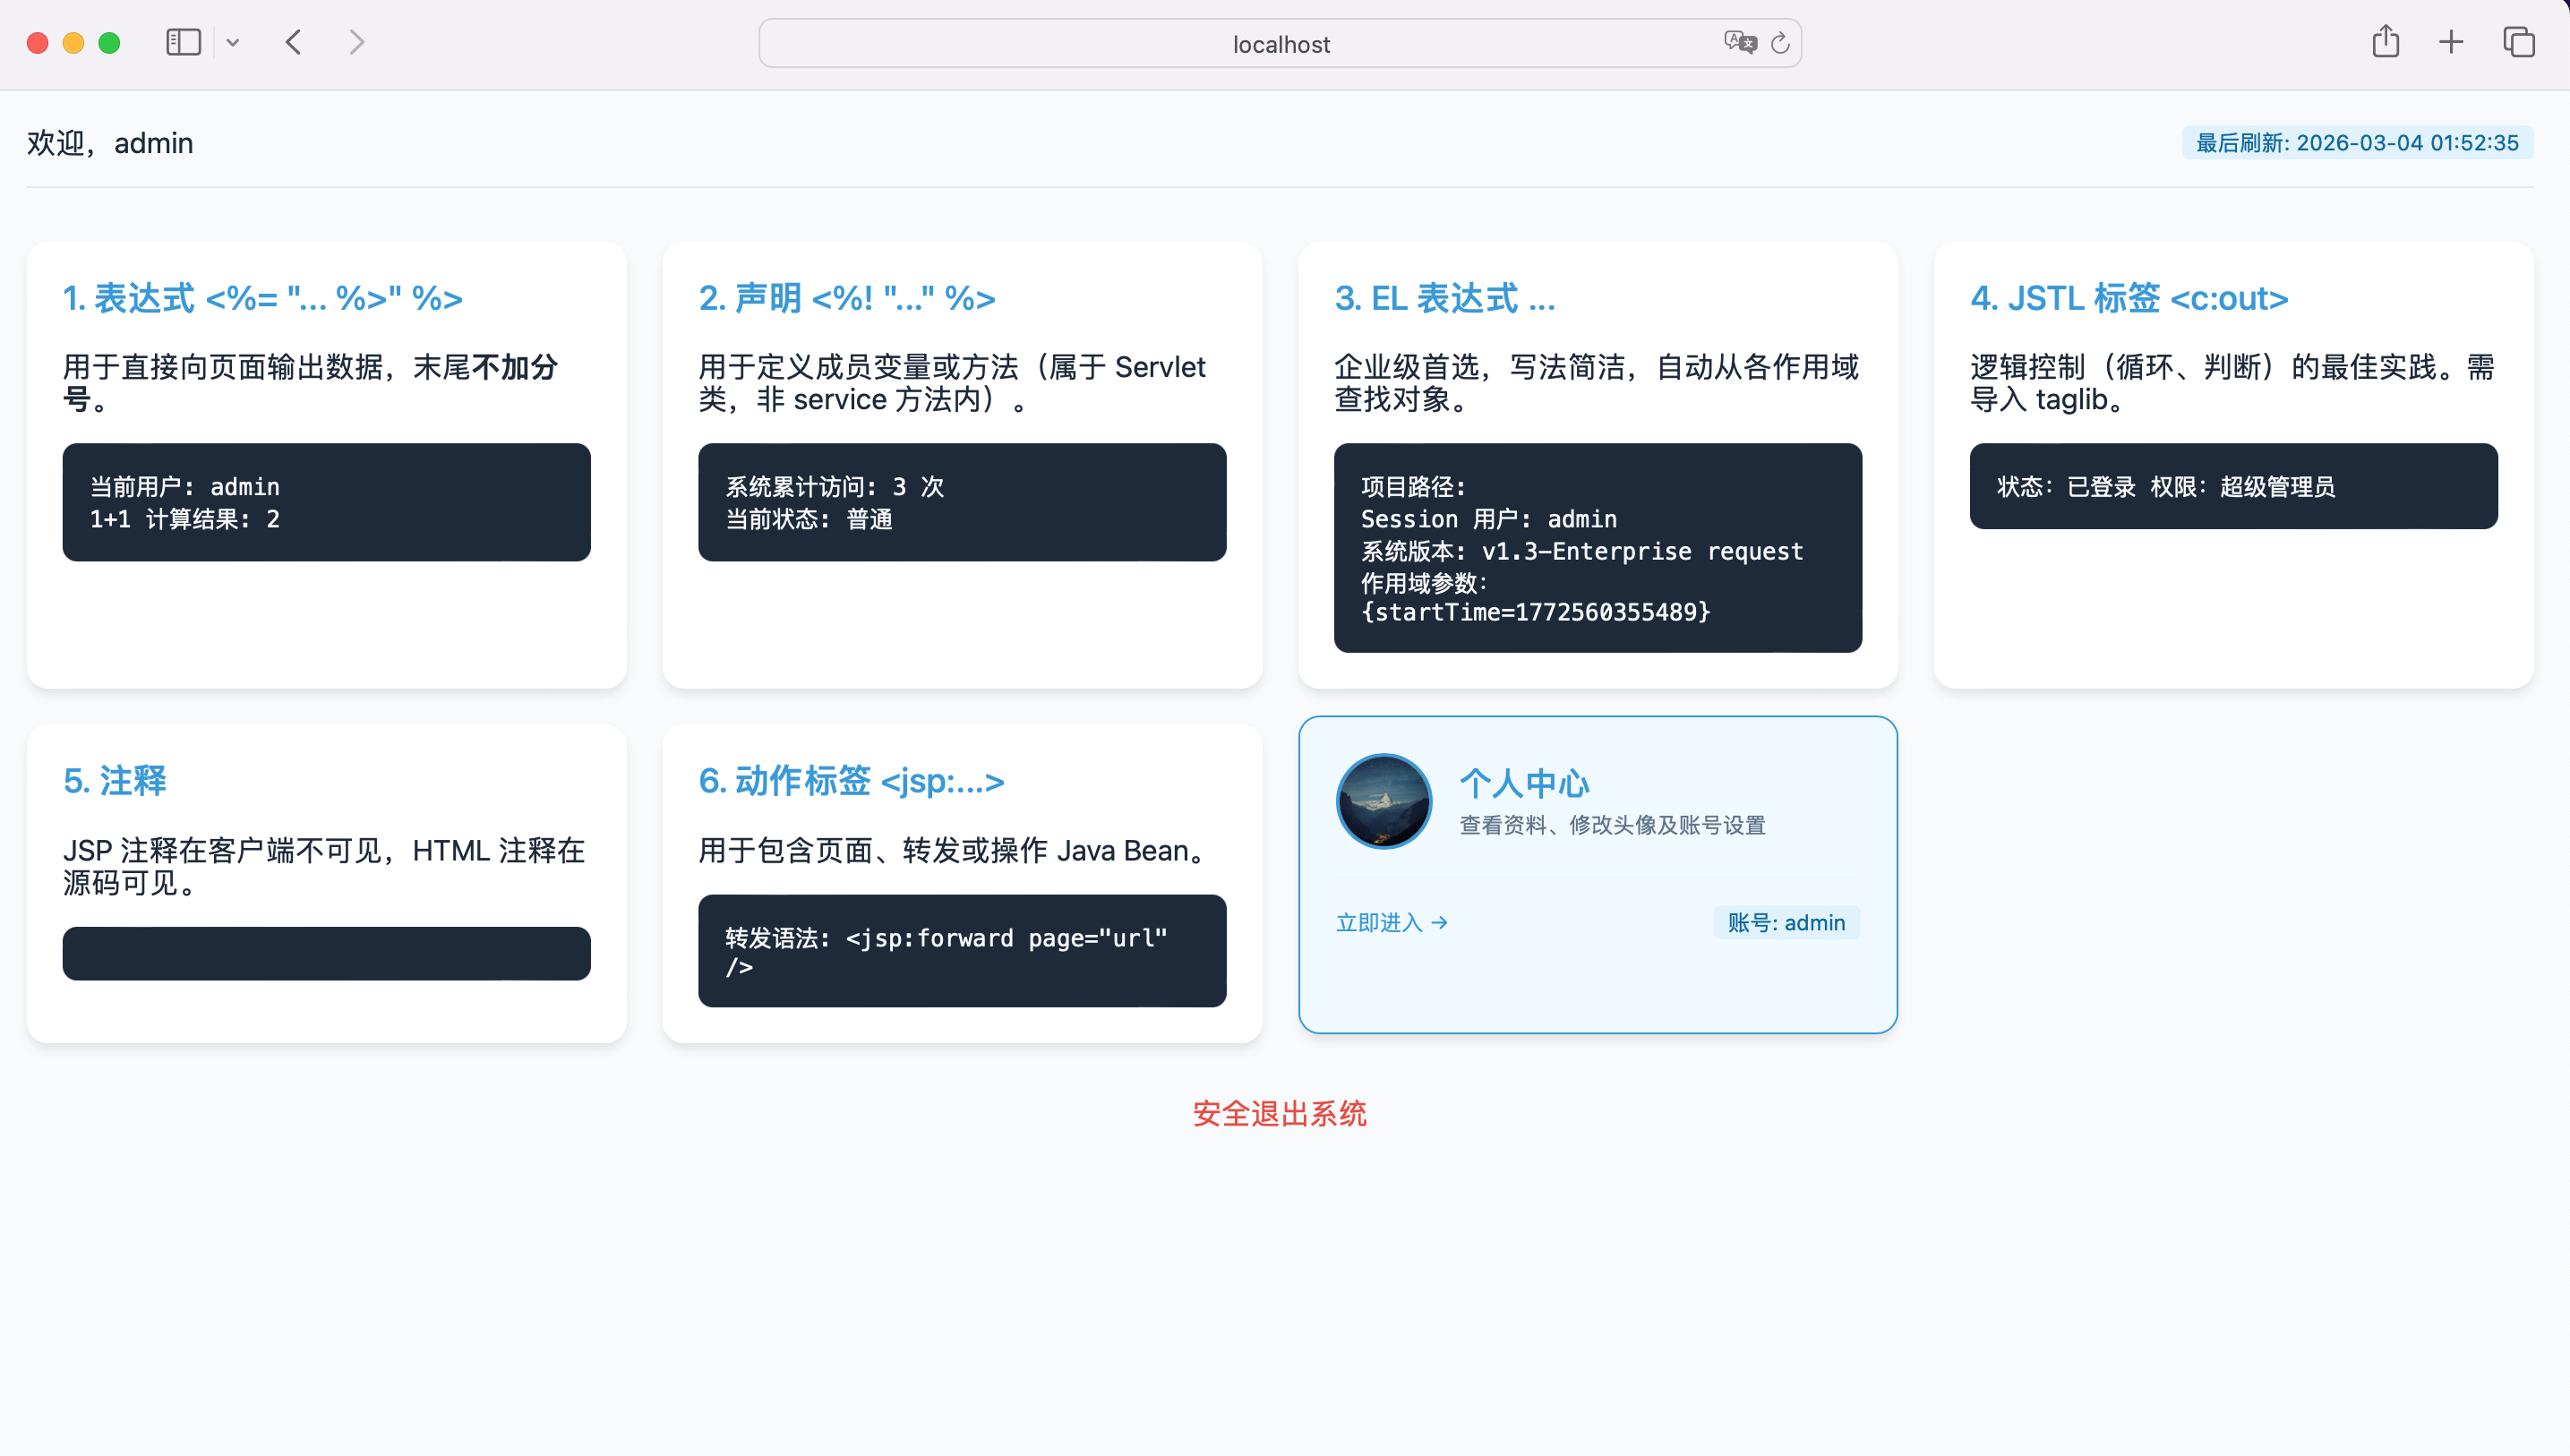
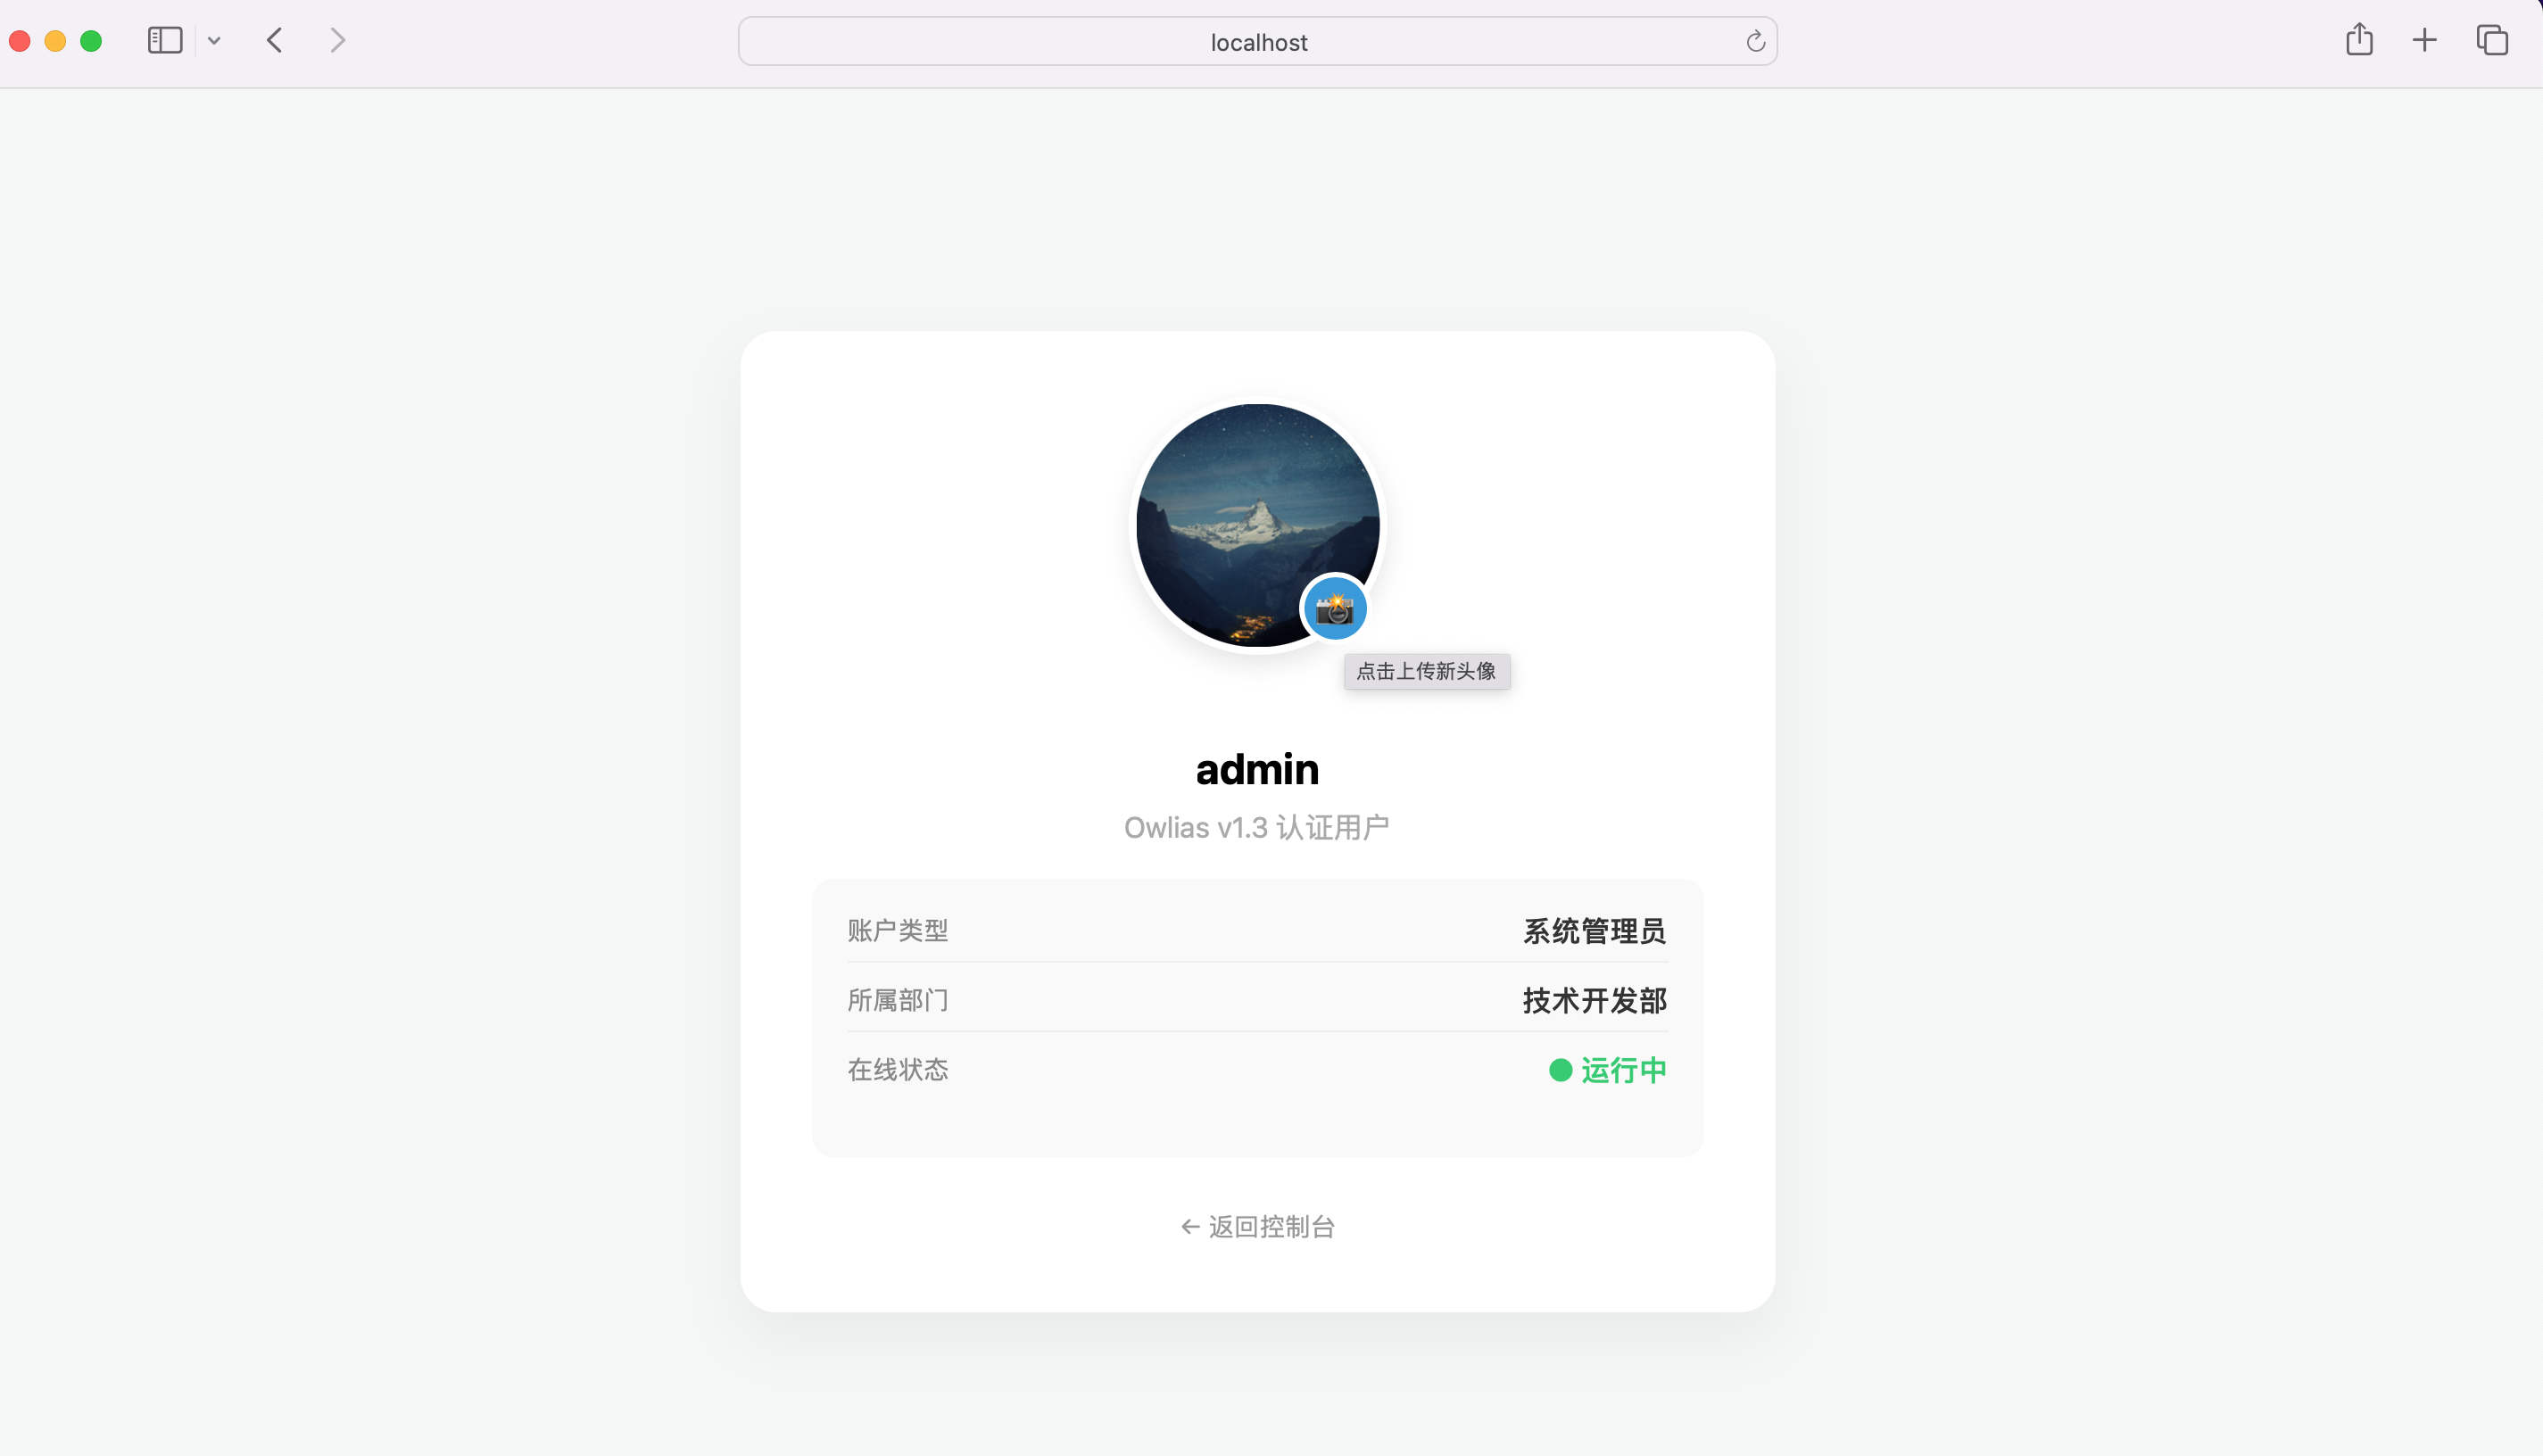
<label for="avatarFile" class="upload-badge" title="点击上传新头像">📸</label>
<input type="file" id="avatarFile" accept="image/*" onchange="handleFileUpload()">
</div>
<h2>${sessionScope.user}</h2>
<p style="color: #aaa; margin-top: -10px;">Owlias v1.3 认证用户</p>
<div class="user-info">
<div class="info-row">
<span class="label">账户类型</span>
<span class="value"><c:out value="${sessionScope.user == 'admin' ? '系统管理员' : '普通成员'}" /></span>
</div>
<div class="info-row">
<span class="label">所属部门</span>
<span class="value">技术开发部</span>
</div>
<div class="info-row">
<span class="label">在线状态</span>
<span class="value" style="color: var(--success);">● 运行中</span>
</div>
</div>
<div id="statusBanner"></div>
<a href="index.jsp" class="btn-back">← 返回控制台</a>
</div>
<script>
function handleFileUpload() {
const fileInput = document.getElementById('avatarFile');
const statusBanner = document.getElementById('statusBanner');
const displayAvatar = document.getElementById('displayAvatar');
if (!fileInput.files[0]) return;
const formData = new FormData();
formData.append("avatar", fileInput.files[0]);
statusBanner.style.display = 'block';
statusBanner.style.background = '#e3f2fd';
statusBanner.style.color = '#1976d2';
statusBanner.innerText = '正在上传头像...';
fetch('${pageContext.request.contextPath}/uploadAvatar.do', {
method: 'POST',
body: formData
}).then(response => {
if (!response.ok) throw new Error('网络响应错误');
return response.json();
}).then(data => {
if (data.success) {
displayAvatar.src = data.newAvatarUrl + '?t=' + new Date().getTime();
statusBanner.style.background = '#e8f5e9';
statusBanner.style.color = '#2e7d32';
statusBanner.innerText = '头像更新成功!';
setTimeout(() => { statusBanner.style.display = 'none'; }, 3000);
} else {
throw new Error(data.message);
}
}).catch(error => {
statusBanner.style.background = '#ffebee';
statusBanner.style.color = '#c62828';
statusBanner.innerText = '错误: ' + error.message;
});
}
</script>
</body>
</html>
|
404.jsp
1
2
3
4
5
6
7
8
9
10
11
12
13
14
15
| <%@ page contentType="text/html;charset=UTF-8" language="java" %>
<!DOCTYPE html>
<html>
<head>
<title>404 - 页面走丢了</title>
<meta name="viewport" content="width=device-width, initial-scale=1.0">
</head>
<body>
<div class="container">
<h1>404</h1>
<p>抱歉,您访问的资源不存在或已被移除。</p>
<a href="${pageContext.request.contextPath}/index.jsp" class="back-btn">返回首页</a>
</div>
</body>
</html>
|
500.jsp
1
2
3
4
5
6
7
8
9
10
11
12
13
14
15
16
17
18
| <%@ page contentType="text/html;charset=UTF-8" language="java" isErrorPage="true" %>
<!DOCTYPE html>
<html>
<head>
<title>500 - 服务器开小差了</title>
<meta name="viewport" content="width=device-width, initial-scale=1.0">
</head>
<body>
<div class="error-box">
<h2>500 内部服务器错误</h2>
<p>工程师正在紧急修复中,请稍后再试。</p>
<button onclick="document.getElementById('debug').style.display='block'">查看技术细节</button>
<div id="debug" class="debug-info">
错误消息: <%= exception != null ? exception.getMessage() : "未知异常" %>
</div>
</div>
</body>
</html>
|
error.jsp
1
2
3
4
5
6
7
8
9
10
11
12
13
14
15
| <%@ page contentType="text/html;charset=UTF-8" language="java" isErrorPage="true" %>
<html>
<head>
<meta name="viewport" content="width=device-width, initial-scale=1.0">
</head>
<body>
<h2>系统提示</h2>
<p>操作未能成功完成,原因如下:</p>
<div style="color: red;">
<%= exception %>
</div>
<hr>
<a href="javascript:history.back()">返回上一页</a>
</body>
</html>
|
注:JSP的九大内置对象
内置对象是指在 JSP 页面中不需要声明即可直接使用的对象。它们由 Servlet 容器(如 Tomcat)自动创建,简化了 Web 开发中处理请求、响应、会话等常见任务的复杂度。
解决中文乱码问题
GET 请求乱码:配置 Tomcat 容器
GET 请求的参数在 URL 中。在 Tomcat 8.0 及以上版本,默认编码已经是 UTF-8,通常不会乱码。如果你使用的是旧版本 Tomcat,或者需要显式指定,请修改 Tomcat 目录下的 conf/server.xml:
1
2
3
4
| <Connector port="8080" protocol="HTTP/1.1"
connectionTimeout="20000"
redirectPort="8443"
URIEncoding="UTF-8" />
|
POST 请求乱码:使用过滤器(Filter)
POST 请求的参数在请求体中,最标准的方法是使用 CharacterEncodingFilter。
1
2
3
4
5
6
7
8
|
request.setCharacterEncoding(encoding);
response.setCharacterEncoding(encoding);
response.setContentType("text/html;charset=" + encoding);
<%@ page contentType="text/html;charset=UTF-8" language="java" %>
|
或者springmvc项目:
1
2
3
4
5
6
7
8
9
10
11
12
13
14
15
16
| <filter>
<filter-name>CharacterEncodingFilter</filter-name>
<filter-class>org.springframework.web.filter.CharacterEncodingFilter</filter-class>
<init-param>
<param-name>encoding</param-name>
<param-value>UTF-8</param-value>
</init-param>
<init-param>
<param-name>forceResponseEncoding</param-name>
<param-value>true</param-value>
</init-param>
</filter>
<filter-mapping>
<filter-name>CharacterEncodingFilter</filter-name>
<url-pattern>/*</url-pattern>
</filter-mapping>
|
或者 springboot项目:
1
2
3
| server.servlet.encoding.charsets=UTF-8
server.servlet.encoding.enabled=true
server.servlet.encoding.force=true
|
Maven 编译编码
既然在打 WAR 包,也得确保 Maven 编译源码时也使用 UTF-8,否则代码里的中文常量在编译阶段就可能变质:
1
2
3
4
5
| <properties>
<project.build.sourceEncoding>UTF-8</project-build.sourceEncoding>
<project.reporting.outputEncoding>UTF-8</project-reporting.outputEncoding>
<maven.compiler.encoding>UTF-8</maven.compiler.encoding>
</properties>
|
配置IDEA的运行环境
IDEA 本身不带 Tomcat,你需要先去 Tomcat 官网 下载并解压一个版本(建议 Tomcat 10+ 对应 Jakarta EE)。
- 点击 IDEA 右上角的 Add Configuration…(或者 Edit Configurations…)。
- 点击左上角 + 号,选择 Tomcat Server -> Local。
- Application Server:点击 Configure…,选择你解压的 Tomcat 根目录。
- Deployment 选项卡(最关键):
- 点击底部的 + 号
- 选择 Artifact…
- 选择 “项目名:war exploded”(这表示直接运行编译后的文件夹,改代码后生效快)
- Application context:建议设为 “/“(这样访问地址就是 localhost:8080/hello,不需要带长长的项目名)
运行验证效果
SpringMVC 是怎么接入 Servlet 的
Spring MVC 并不是凭空产生的,它是建立在 Servlet 规范之上的。在它的体系架构中,最核心的 Servlet 只有一个,但它继承了一套严密的家族体系。以下是 Spring MVC 集成 Servlet API 时最核心的类及其职责:
1. 核心 Servlet 类继承体系
在 Spring MVC 中,所有的请求处理最终都汇聚在一个类上。我们来看它的“族谱”:

2. Spring MVC 核心三剑客
虽然物理上的 Servlet 只有一个,但 Spring MVC 内部有三个关键组件(它们紧密依赖 Servlet API)来完成我们刚才使用 servlet 实现的功能:
① HandlerMapping (映射器)
- 对应代码:对应刚才我们通过 uri.substring 截取方法名的逻辑。
- 职责:根据请求的 URL 找到对应的 Controller 和 Method。
② HandlerAdapter (适配器)
- 对应代码:对应刚才的 method.invoke(this, req, resp) 的反射调用逻辑。
- 职责:负责具体的调用。因为 Spring 的 Controller 方法参数千奇百怪(有的要 Session,有的要 POJO),适配器负责把 Servlet 的 req/resp 转换成方法需要的参数。
③ ViewResolver (视图解析器)
- 对应代码:对应刚才的 req.getRequestDispatcher(“profile.jsp”).forward(…)。
- 职责:将 Controller 返回的逻辑视图名(如 “profile”)加工成真实的物理路径(如 “/WEB-INF/jsp/profile.jsp”)。
3. Spring MVC 还会用到哪些原生 Servlet 组件?
除了 DispatcherServlet,Spring MVC 在集成时还会高频使用以下 Servlet API 原生类:
ContextLoaderListener:
- 本质:一个标准的 ServletContextListener。
- 作用:在 Tomcat 启动时,加载 applicationContext.xml,初始化 Service 层和 DAO 层的 Bean。
CharacterEncodingFilter:
- 本质:一个标准的 Filter。
- 作用:统一解决乱码问题(类似于我们刚刚写的编码设置)。
DelegatingFilterProxy:
- 本质:一个代理 Filter。
- 作用:让 Servlet 容器中的 Filter 能够使用 Spring 容器里的 Bean(打破了 Servlet 容器与 Spring 容器的壁垒)。
所以总结起来:Spring MVC 的核心代码其实就是刚才我们写的那个 DispatcherServlet 的极端增强版。DispatcherServlet 的 service 方法大致执行流程是:
- 通过 HandlerMapping 找是谁处理(Controller)。
- 通过 HandlerAdapter 去执行(Invoke)。
- 如果执行过程中报错,交给 HandlerExceptionResolver(异常处理)。
- 执行正常得到 ModelAndView。
- 通过 ViewResolver 渲染成 HTML 发给浏览器。
除此之外,SpringMVC 做的更多是兼容性、解耦和功能扩展的功能 ,比如数据绑定、数据校验、拦截器等等。关于 SpringMVC 的更具体的说明,我们以后再做探讨,今天先写到这儿吧,睡觉~ 😴。
标题:
从 servlet 到 springmvc 的演变